Instructions
Step 1: Preheat the oven to 350°F (175°C). Grease and line three 6-inch round cake pans with parchment paper.
Step 2: In a medium bowl, whisk together the flour, baking powder, and salt.
Step 3: In a large mixing bowl, beat the butter and sugar until light and fluffy.
Step 4: Add the eggs one at a time, mixing well after each addition. Stir in the vanilla extract.
Step 5: Alternate adding the dry ingredients and milk to the batter, mixing until just combined.
Step 6: Divide the batter evenly among the prepared cake pans and bake for 25 to 30 minutes, or until a toothpick inserted into the center comes out clean.
Step 7: Allow the cakes to cool completely before assembling.
Step 8: Prepare the buttercream frosting by beating the butter until smooth. Gradually add the powdered sugar, heavy cream, and vanilla extract until fluffy.
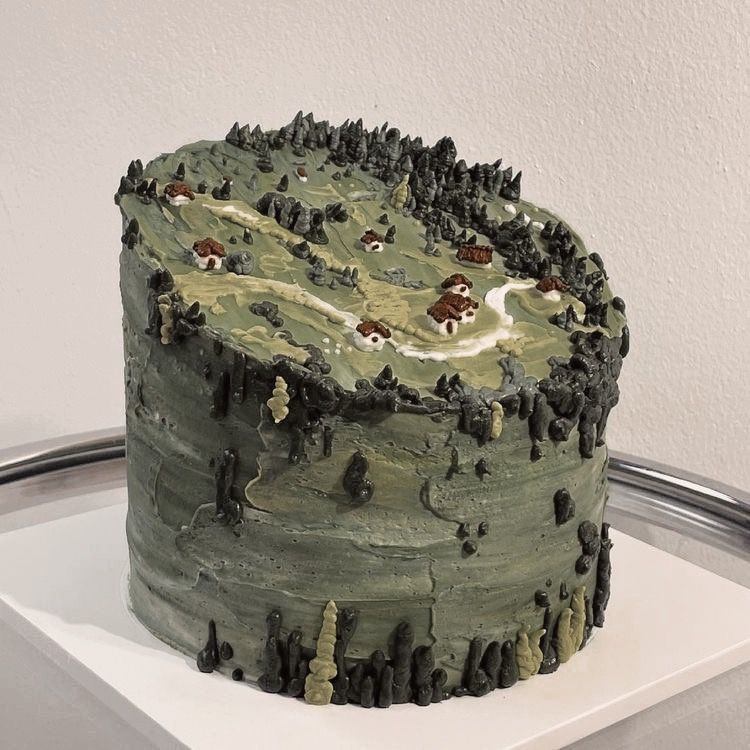
Step 9: Tint portions of the frosting with green, black, and brown food coloring to create the landscape effect.
Step 10: Layer and frost the cake with a thin crumb coat, then chill for 20 minutes.
Step 11: Apply the final coat of green frosting and use an offset spatula to create textured hills and pathways.
Step 12: Pipe or sculpt trees, rocks, and landscape details using darker frosting shades and chocolate decorations.
Step 13: Create miniature houses from fondant and place them on top of the cake to complete the countryside scene.
Step 14: Chill the cake slightly before serving for cleaner slices.
Storage and Reheating Tips
Store the Forest Landscape Cake covered in the refrigerator for up to 5 days.
Allow the cake to sit at room temperature for 20 to 30 minutes before serving for the best texture.
Freeze unfrosted cake layers tightly wrapped for up to 2 months.
Avoid storing the cake in direct sunlight or warm temperatures, as the decorative buttercream details may soften.
Continue on the next page